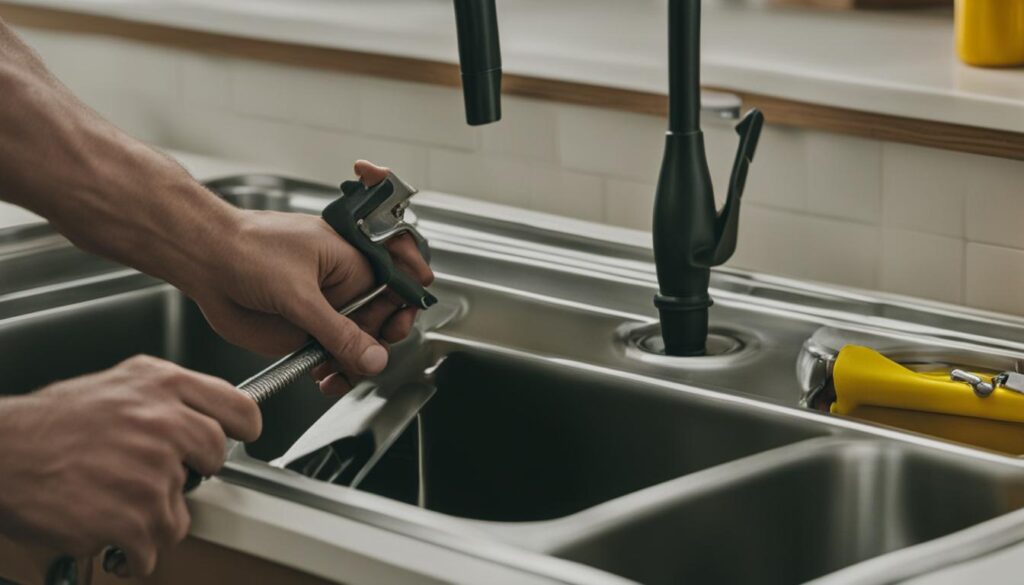
Are you tired of dealing with a loose and wobbly garbage disposal? Don’t worry, tightening it is easier than you think. In this step-by-step guide, we’ll show you how to tighten garbage disposal and keep it secure for smooth operations in your kitchen.
Before we dive into the process, here are some valuable tips to ensure a successful tightening experience:
Key Takeaways:
- Regularly inspect your garbage disposal for any signs of looseness or movement.
- Ensure the power is turned off before attempting any maintenance or tightening.
- Use the correct tools and follow the manufacturer’s instructions for your specific model.
- Take caution and avoid unnecessary force to prevent damage to the disposal.
- Consider investing in a higher-quality disposal for better performance and durability.
How to Remove and Install a Garbage Disposal
If you need to remove an old garbage disposal before installing a new one, follow these simple steps:
- Turn off the power: Before starting any work, make sure to turn off the power to the disposal at the circuit breaker to avoid any accidents.
- Disconnect the plumbing: Start by disconnecting the plumbing connections. Place a bucket underneath the sink to catch any water or debris that may come out.
- Remove the disposal: Once the plumbing is disconnected, locate the mounting ring that holds the disposal in place. Use a screwdriver or a wrench to loosen and remove the mounting ring. Gently lower the disposal and detach it from the mounting bracket.
- Clean the area: With the disposal removed, take the opportunity to clean the area around the sink and remove any buildup or debris.
- Install the new disposal: Follow the manufacturer’s instructions to install the new disposal. Attach the mounting bracket and secure it tightly. Connect the plumbing and ensure all connections are tight and leak-free.
- Test and adjust: Once the new disposal is installed, turn on the power and test it to ensure it is functioning properly. If needed, make any adjustments to the mounting or plumbing connections.
Remember, when handling electrical connections, always prioritize safety and consult a professional if you are unsure. By following these steps, you can easily remove and install a new garbage disposal, ensuring a secure and functioning unit in your kitchen.

Maintenance Tips for a Secure Garbage Disposal
Once your garbage disposal is installed, proper maintenance is essential to keep it secure and prevent any issues. Here are some easy maintenance tips to follow:
- Regular cleaning: Clean the disposal regularly to prevent buildup and odors. Simply pour a mixture of ice cubes and vinegar down the drain and run the disposal for a few seconds.
- Avoid hard materials: Avoid disposing of hard materials such as bones, fruit pits, or hard shells, as they can damage the disposal.
- Run cold water: Always run cold water when operating the disposal, as it helps solidify any fats or oils, preventing clogs.
- Use it properly: Only use the disposal for soft food scraps, and avoid overloading it. Gradually feed the waste into the disposal to prevent jams.
By following these maintenance tips, you can ensure that your garbage disposal remains secure and functions optimally for years to come.
Table: Comparison of Different Garbage Disposal Brands
| Brand | Motor Power | Noise Level | Price Range |
|---|---|---|---|
| InSinkErator | 3/4 HP – 1 HP | Moderate | $100 – $400 |
| Waste King | 1/2 HP – 1 HP | Quiet | $80 – $300 |
| Moen | 1/2 HP – 1 HP | Low | $100 – $350 |
Conclusion
Tightening your waste disposal is a simple DIY task that can save you from future problems and ensure its proper functioning. By following the correct techniques and manufacturer’s instructions, you can avoid any damage or leaks that may occur. Remember to prioritize securing your garbage disposal to maintain a well-functioning kitchen.
Investing in a higher-quality disposal with a more powerful motor can minimize the risk of jams and provide a quieter operation. While the initial cost may be higher, it’s worth considering the long-term benefits and potential savings in repairs or replacements.
Fixing a loose waste disposal is crucial to maintaining a smooth and efficient kitchen. Regularly checking for any signs of looseness and promptly addressing the issue can prevent more significant problems down the line. Secure your garbage disposal using the step-by-step guide mentioned earlier and enjoy a hassle-free experience in the heart of your home.
FAQ How To Tighten Garbage Disposal
How do I tighten my garbage disposal?
To tighten your garbage disposal, follow these step-by-step instructions:
What are the steps to remove an old disposal before installing a new one?
If you need to remove an old disposal before installing a new one, here are the steps to follow:
Why is it important to use the correct techniques and follow the manufacturer’s instructions when tightening a garbage disposal?
Using the correct techniques and following the manufacturer’s instructions is important to avoid any damage or leaks and ensure proper functioning of the garbage disposal.
How can investing in a higher-quality garbage disposal reduce the risk of jams and provide quieter operation?
Investing in a higher-quality garbage disposal with a more powerful motor can reduce the risk of jams and provide a quieter operation, enhancing the overall performance and lifespan of the appliance.
What factors should be considered when replacing a garbage disposal?
When replacing a garbage disposal, it is important to consider the overall cost, including any additional parts or accessories needed. It is also essential to choose a disposal that offers secure tightening techniques to prevent future issues.